

All About Homecoming Mums
October 7, 2022
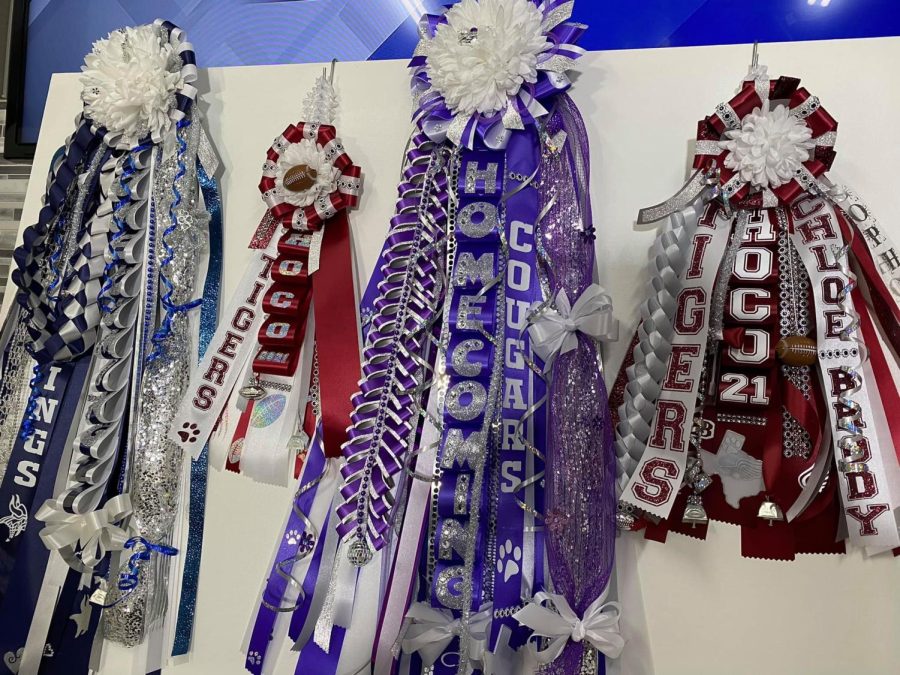
With homecoming approaching, many students across Texas are gathering supplies and constructing the large and extravagant corsages known as mums. Ranging from modest and simple to massive and complicated, mum building is known to be a Texas tradition, not performed really anywhere else. But surprisingly, they didn’t actually originate here.
The first mums were worn in Missouri around the 1930s. Girls were gifted a live chrysanthemum (mum for short) decorated will a few small ribbons by her date, where she’d then pin it to her shirt and wear it throughout the day. However, this tradition didn’t spread to Texas until a few years later, and students began going all out with the size and decoration. More ribbon, plastic ornaments, lights, bells and stuffed animals are added to the now synthetic flower, causing them to weigh, in some cases, over 10 pounds, so girls began hanging them over their necks instead.
Seniors are allowed to decorate their mums a little differently and go in any direction with the theme. Their mums can also use more than one flower, arranged into shapes such as the state of Texas. But the cost piles up, and mums can cost hundreds, even thousands of dollars depending on how extravagant you decide to go.
Nonetheless, it’s become a ritual in every highschoolers life to visit local craft stores for the white flowers and ribbon, but if you’re running late on the trend, these are seven quick steps to make a simple mum.
Making a Simple Mum
1. Buy a white mum flower, ribbon in your school’s colors, varying in size and style, 3 circular cardstock or cardboard cutouts about the size of the flower, and if you’d like, stickers and bells.
2. Cut 7-inch pieces of a thick ribbon and thin ribbon. Lay them on top of each other, fold in half, staple and repeat about 12-14 times.
3. Glue them on the edge of one of the circular cutouts and glue the mum flower directly on top in the center.
4. Cut and place 1-yard pieces of ribbon on a new circular cutout, starting with thicker, solid color ribbons in the back and layering smaller, detailed ribbon on top. When you’re pleased with the placement, staple them in place.
5. Glue the circular cutout with the mum on top of the cutout with ribbon.
6. Accessorize! Sew or glue the bells into the ends of the ribbon, add stickers spelling your name, grade or anything else you’d like.
7. Glue a 20–24-inch loop of ribbon to the back of the cutout, glue the final circle on top, and you’re done!